Roving Vehicles - Week 2 & 4 - Boys & Girls Clubs - Willie Mays Clubhouse
In case the “vrrooom, vrooom” hints from our first post weren’t obvious, we are happy to share with you what we shared with our young tinkering crew from Willie Mays clubhouse…we’re going to be building moving, rideable, steerable vehicles! YAY!!! The kids were more than a little excited :-)
But what would our vehicles look like? What parts do we need in order to build a vehicle? How many wheels do we want our vehicles to have? So many questions…and so we jumped into our design sessions after breaking into a few different groups.
We first spent some time drawing our own individual ideas and sharing them in a “gallery” tour. Then the project collaborators helped the teams combine and focus their ideas into one blueprint that they all felt ownership of and excited about.
We’re so glad. We love tinkering too :-)
We couldn’t begin building though till we transported all our lumber to our build site. The kids were thrilled to haul the wood up the path to the garden workspace. It’s the simple things that make a project fun sometimes!
They all learned how to safely carry the eight foot long pieces by partnering up so one person was on each end. This eliminates accidental helicopters from hitting passerby’s.
Hauling wood is also hard work and thirst inducing!
With all our lumber and materials ready, the teams began cutting and assembling their vehicle frames and tires.
The kids had to use a really large drill bit to make a hole big enough for the axle that the wheels will spin on. It was a good opportunity for collaboration because it took a lot of force to push the drill down. “Can I have a partner push please?”
Attaching a steering wheel to the threaded steering column.
Assembling the tires was super fun! After attaching the rims, the kids used a bike pump to inflate the tubes. These are no ordinary, tiny wheels…the vehicles will be able to go off-roading with these puppies!
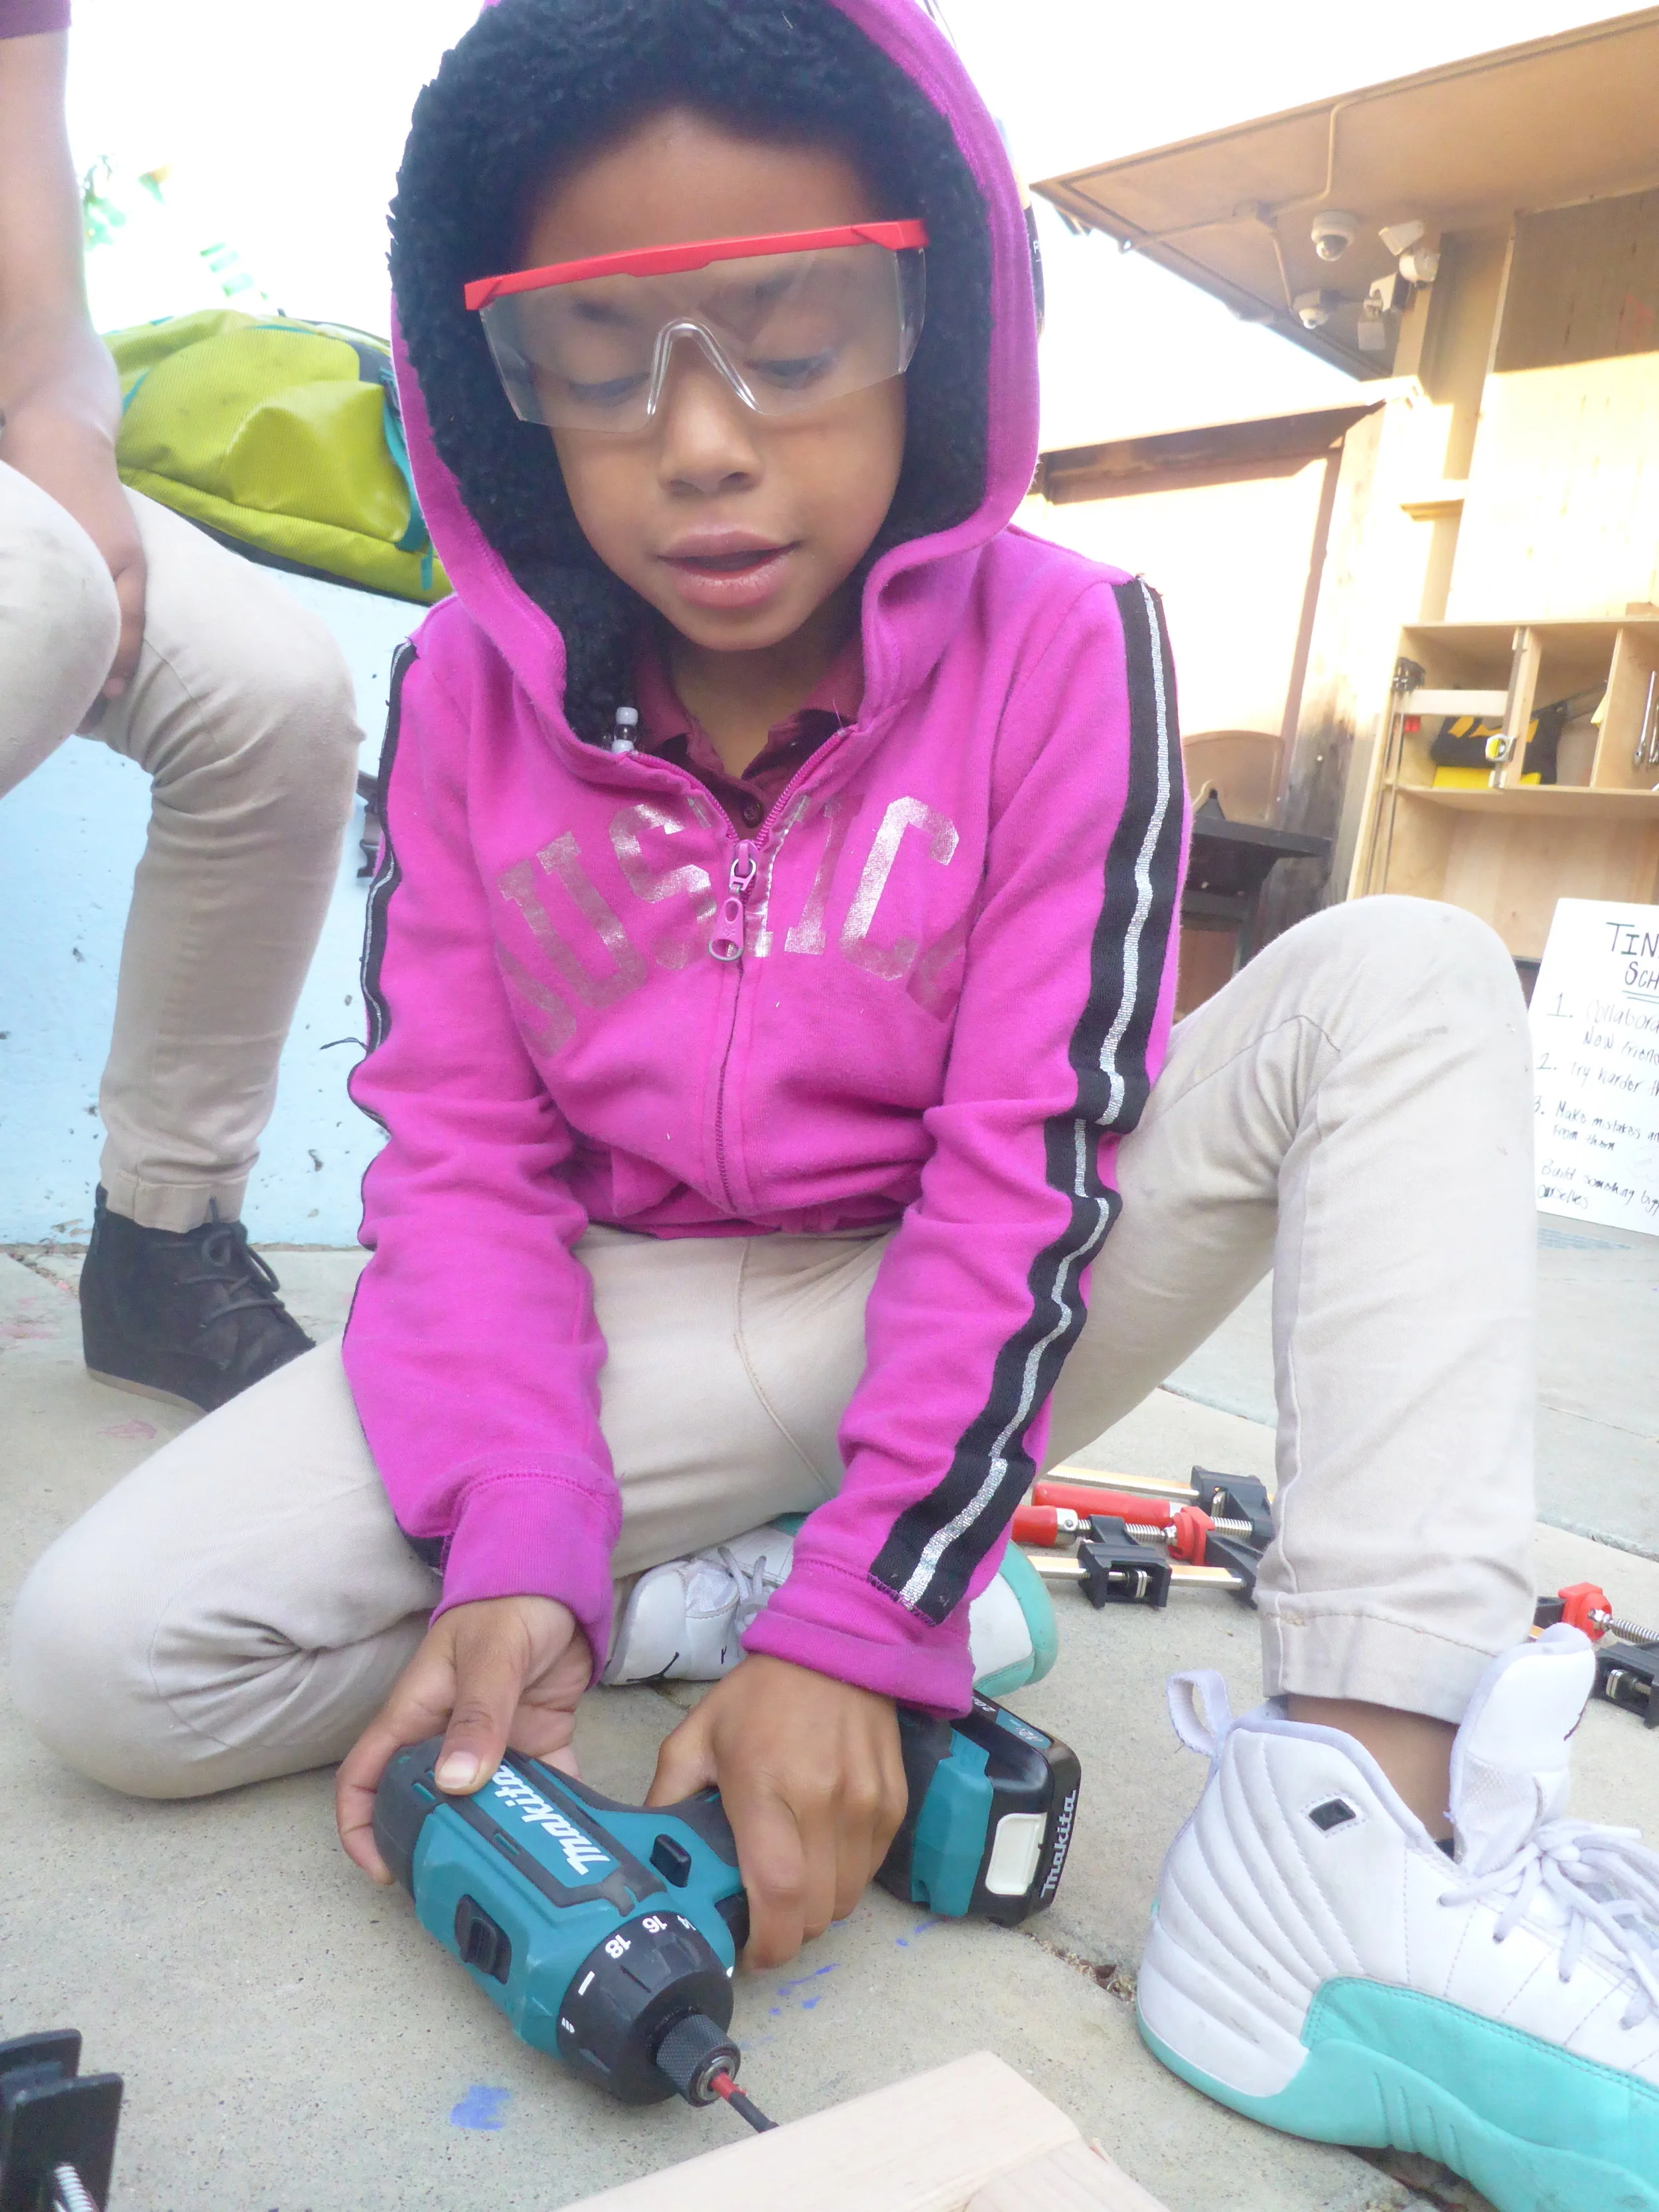
There was lots of time for practicing drilling and screwing as the teams built their vehicles’ frames that the wheels, floor, roof and everything else will attach to.
Another team also had a chance to complete their tool training and learn to use clamps, drills, and the chop saw effectively and safely.
Great teamwork!
A pristine, freshly cut piece of lumber. Nice work Douglas!
And there was even still time to build the outer frame for the floor of the longest vehicle. It will hold all four team-members! It might resemble a bob sled by the time its completed…
There’s lots more fun tinkering to see from these first few weeks. We encourage you to visit our Flickr page and to check back with us next week. Who knows what this hard working and passionate crew will construct next!


